Wednesday 28 March 2012

Honey Lady Hungarian Hot Cross Buns

Growing up in a Hungarian family in Australia meant that there were a lot of things that everyone else seemed to eat that we did not... pavlova, scones, corned beef, vegemite, tinned pineapple and white bread.... but mind you there were plenty of things we ate that other people did not... like chicken feet and black corn!!

I think I was well into my 20's before I had a hot cross bun. For Easter we would eat meats and vegetables all done Hungarian...


I'm pretty sure we had fish on Good Friday but really every time we sat down at the table was a feast so apart from some special cakes there was not a huge difference for celebratory meals... except the number of people eating with us!

My mum made a lot of sweet yeast based dishes and this recipe is taking the base of a lemon cottage cheese filled bun and making it into a Hot Cross Bun... tricky....


So this how I make my version of these Easter favourites....


Honey Lady's Hungarian Hot Cross Buns


You will need…


4 cups Strong Plain Flour
2 eggs
300ml milk
2 x8g yeast packets
1 tablespoon sugar
4 tablespoon Honey Lady Chai Honey
50g butter plus extra to grease pan
zest of one orange
1/2 cup currants


To Make…


Combine milk, butter and honey and dissolve over low heat. Only allow to get luke warm then take off heat.


Activate yeast with sugar and small amount of warm water.


Add flour on top of yeast. Make a well in the top of the flour and loosely combine in the eggs making sure they do not touch the yeast. Add milk honey butter mix to flour and combine thoroughly.


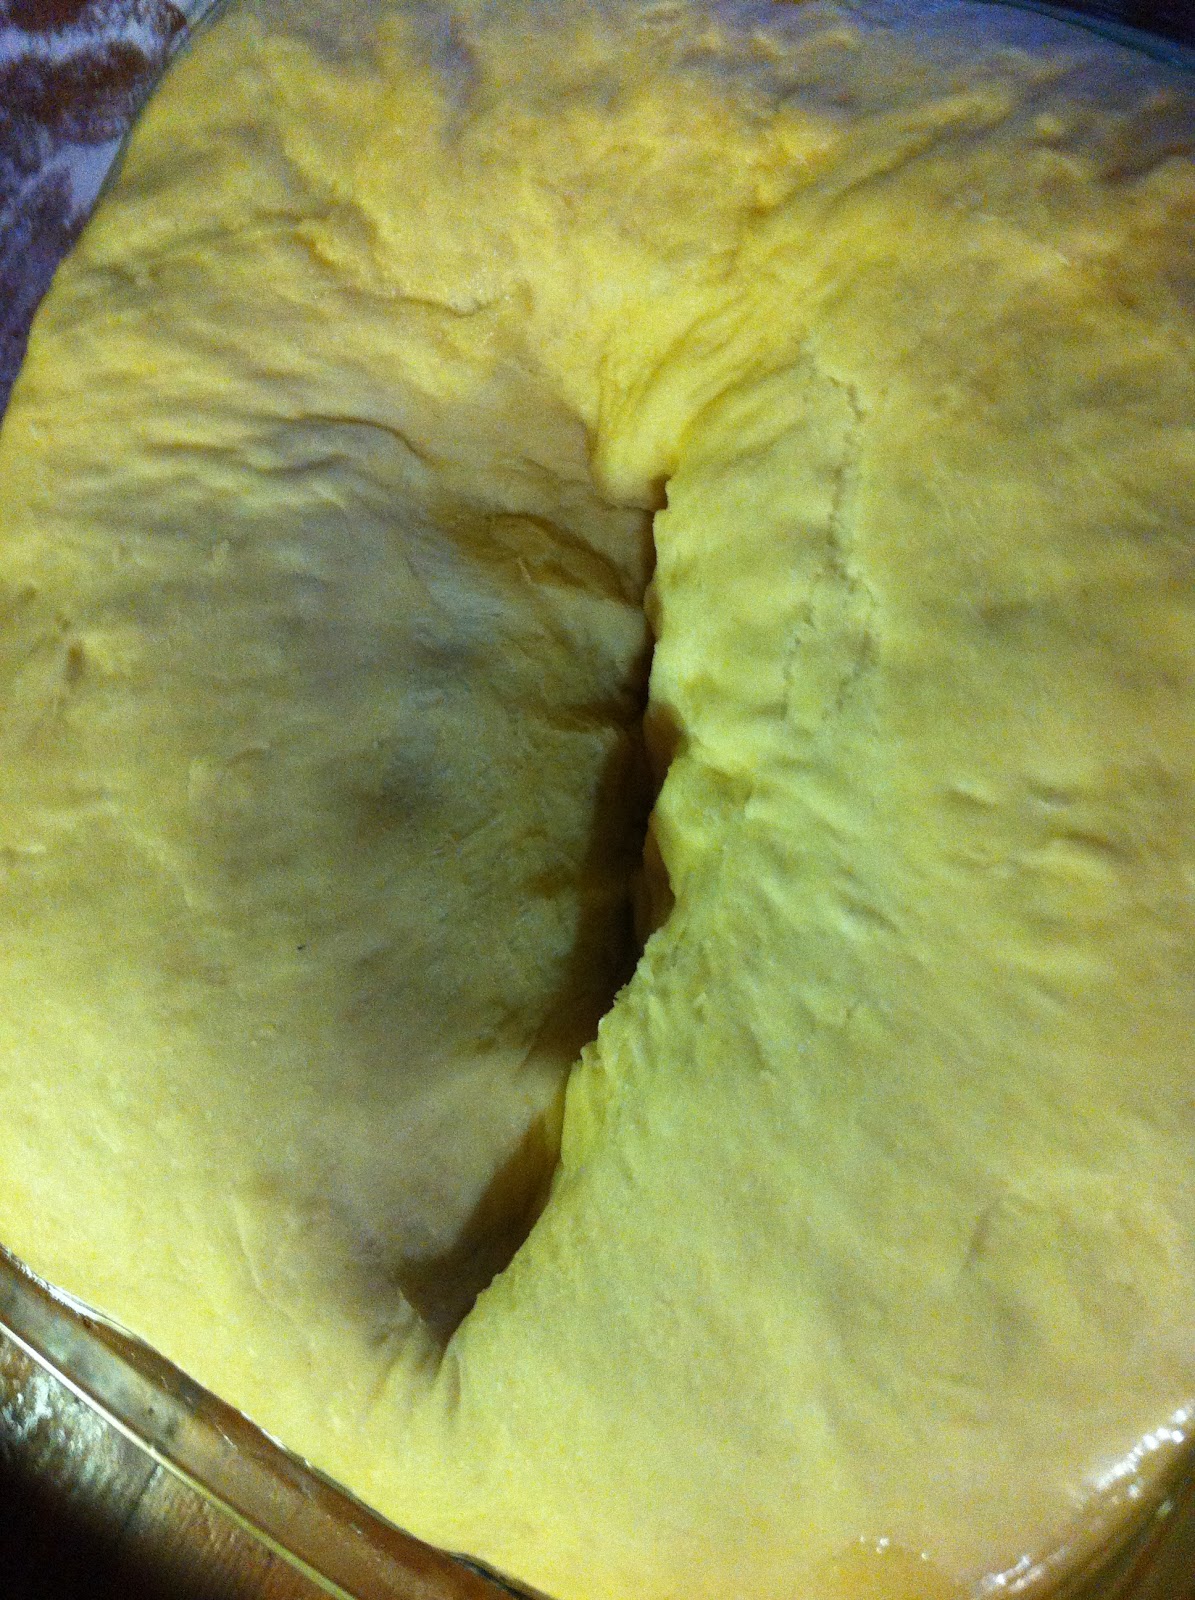
On a floured board knead the dough for 5- 10 minutes until elastic.


With a wet tea towel on top, rest dough in warm place and allow the dough to double in size (30-40mins)
If you are wanting to have these for Easter morning you can at this point put the dough in the fridge to halt the process until morning.


Punch down dough and kneed for 5 - 10 mins and then add orange zest and currants.


Shape into buns with about an 8cm diameter and place in a butter greased tray. Allow to double in size again (20 mins)


Brush buns with milk and place in 190c oven and bake until golden brown (about 15-20 mins)


Eat warm with lashings of butter and honey, cups of tea or mugs of coffee
If you are wanting to make a traditional X on the top of each bun, make a water and icing sugar paste and pipe on the X before baking.


Enjoy and Happy Easter,

yours

Honey Lady


Sunday 11 March 2012

Homemade Sausage Rolls with Garlic Yoghurt Dipping Sauce

Sausage Rolls are favourite for children and adults alike ~ I have never placed a plate full of these down and had left overs...  they are perfect for a family dinner, party food and school lunches and you can freeze them!!!                                For me these quick beauties are an opportunity to give my kids food that they love with the nutrition I know their growing  bodies need. This recipe is a perfect example of how quick and tasty food can also be healthy!

Homemade Sausage Rolls                                                                                              You will need....                                                                                                                                800g mince ~ I used beef but you could also use pork, turkey, chicken or lamb... kangaroo probably won't work but the others would be fine... or even try a combo! ...... 2 small brown onions sliced oh so fine ~ use your mandolin....... 1 medium sized celeriac peeled and grated..... a small amount of olive oil.... a handful of parsley chopped fine.... 2 eggs....1/3 cup of plain flour..... 1/3 cup of walnuts chopped coarsely(optional)...... 2 packets of Careme Shortcrust with sour cream Pastry.... salt to taste.....
The trick to these is not to be too precious.... bang them together and get them in the oven!!


Take your onions and celeriac and place them in a deep based pan with enough olive oil to cover the bottom of your dish.... and then sweat them down.... celeriac goes all smooth and mushy when cooked this way and that is what you are looking for.... it will take about ten minutes....keep the heat on medium because you are not wanting to fry these sweeties just sweat them....


While we are doing this get your parsley chopped fine and if you are going to add walnuts then chop them a bit also.....


What I do here is transfer my onions and celeriac into a big bowl and spread them as thin as you can to cool them down quickly....

onion, celeriac ,parsley and walnuts


Now this is the quick part.... eggs in, meat in, parsley and walnuts in and mix....after combined then stir in the flour and this bit is done.... oh add a good pinch of salt here....


Next take your pastry and roll it out a bit...you can go thinner than how the pastry comes... you can always make your own... use a standard short crust pastry recipe here... using wholemeal flour would make me feel like mother of the year.....Cut your pastry into lengths like so.....

 
Then spoon on your filling like so and roll over and fork down....


Then into an oven @ around 180 -200c... you don't want your oven too hot as the pastry cooks but not the filling.... which is ewwwwww

Let them cool and cut into portions....


Yoghurt Garlic Dipping Sauce....

Is so easy!!! Take a good quality yoghurt ~ nice and thick.... about one cup....take a clove of garlic and a little pinch of rock salt and cream your garlic in a mortar and pestle....and add to the yoghurt.... grate a small Lebanese cucumber on fine and squeeze out all the liquid you can before adding to the yoghurt/garlic mix....chop in a few sprigs of mint and combine....have a taste and adjust accordingly.... keep in mind that the garlic will bloom in this... that is get stronger.... so don't  be too heavy handed!


We had this with a blanched green bean and broccoli salad... so yummy....


If you want to pack these in tomorrow's lunch.... hide them!


yours,


Honey Lady


Friday 2 March 2012

Chili Chocolate Tart


This is an accidental tart that came from a request... I explain as I go BUT this is one of things I love most about cooking ~ how you stumble across culinary gold when you least expect it!

You will need...

for the pastry...
you can make your own or use Careme's Chocolate Short Crust... a plain homemade short crust would also work

To make your own pastry...
250g of plain flour
1/2 cup good coco
2 tsp vanilla honey
1 pich salt
150g butter softened
1/2 cup of dark brown sugar packed firm


 Cream the butter and sugar til creamy ~ so Nigella! And then add the coco and vanilla honey and beat some more... hmmm...

And now add the flour and pich of salt and combine ~ if the pastry does not pull together add a small amount of water  until just combined


Wrap in greasproof paper and chill for about an hour in the fridge or in the freezer for 20 minutes


Now while your pastry is resting you can get going on the filling


The Filling ~

This is really so easy... its actually a chocolate ganache with a twist

You will need...

600g pouring cream
400g 70% dark chocolate
1 cup of walnut pieces
2 medium heat chilies

Start by cutting up your chilies and poaching them in the cream over low heat for about 20 minutes ~ I expect that you would get a great flavour if you did this the night before... you would need to reheat the cream but worth a try


Scoop out the chilies ~ I gave mine a good squeeze to extract all of the chili oils before I removed them from the warm cream

And then break up the chocolate and add to the warm chili cream and gently whisk until all the chocolate disolves and goes glossy and smooth

This cream and chocolate mix is a ganache in its simplist form


Take this beautiful mixture and place it in the fridge to cool

Butter and then dust your flan dish with coco and and roll out your chilled pastry...

Its a tricky pastry to work with so go easy ~ remembering that over worked pastry gets quite tough and hard

I prick and blind bake my tart flans - and usually I place almonds in the base to blind bake so that I get some yummy warm roasted nuts for my work!


Now this is when a lack of almonds changed this dish ~ I only had walnuts in the pantry so I used these insted...


I then chilled the pastry case for about 15 minutes in the freezer and then added the walnuts to the base...


I had every intention of removing the walnuts after the baking but the smell coming from the oven was amazing and the oils from the heated walnuts oozed into the pastry... I did not have the heart to remove them....


After cooking the tart flan at 200c for about 20 minutes I popped the case out to cool. the house we live in has these gorgeous big window sills perfect for pie cooling ~ I can only just imagine all the pies and cakes that have cooled on these window ledges...


Now you will have a cool flan case with roasted walnuts in it and some lovely cool chili chocolate ganache

This stage is simple ~ pour the ganache over the walnuts and smooth over...


Put this darling into the fridge and chill for at least one hour ~ there should be some left in the bowl for a taste or two while you wait...


Now take a knife and smooth over the top of the tart ~ no harm to have a nibble now! Your tart should be set hard... take a hot knife and cut your tart... small slivers means you can have a second serve guilt free...


yours,


Honey Lady